As I wrote in this article, I’ve recently gone through some trouble with Fedora 29 and my laptop. The first issue I ran into was, the installer, when launched from the LiveUSB for F29, doesn’t create a local user, or let you set roots password. So, the first step I had to take in fixing the issue I outlined in that article, was to get a local user created before the first reboot. You can learn why by reading the linked article.
To summarize, I needed to make sure I had a login on the system before I exited the Live system. Luckily, the Fedora live environent, post-install, made this easy for an experienced linux sysadmin such as myself to accomplish. So you get to benefit from my struggles.
Chroot
Maybe you’re fimilar with chroot, maybe you’re not. At its base, it’s a way of “Changing Root” or re-homing your filesystem. If you’re trying to do system recovery, or even lock a user into a “jail” chroot is often the way to do it.
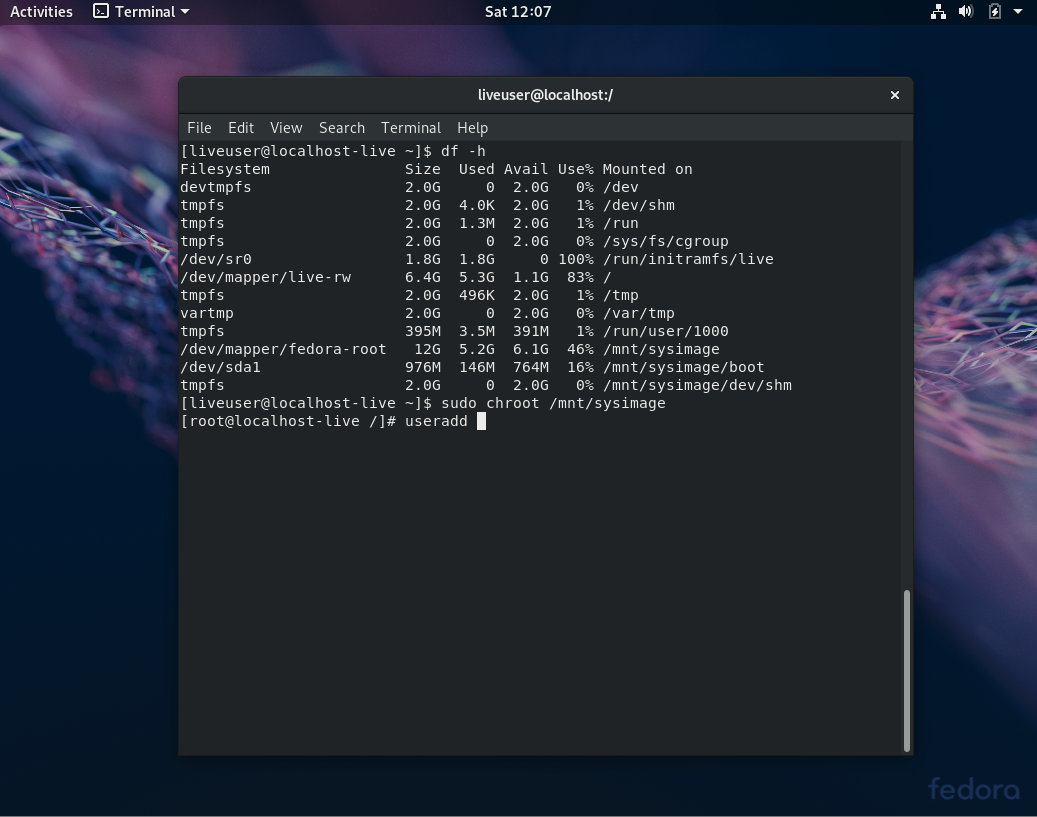
So, after install, I wanted to chroot into my newly installed system, and add a user using the command line. This is not nearly as hard as it might sound, all the tools, and much of the setup, you’ll need to do it, are right at your fingertips. Once the install was complete, I hit the “quit” button at the bottom of the installer, and was brought back to the Fedora live environment I’d launched it from. I fired up Terminal, intending to find and mount my local hard drive. I found, by simply looking at “df” that the system was left mounted under /mnt/sysimage, which is where most RHEL/Fedora based systems will mount a rescue system automatically.
[liveuser@localhost-live ~]$ df -h
Filesystem               Size  Used Avail Use% Mounted on
devtmpfs                 2.0G     0  2.0G   0% /dev
tmpfs                    2.0G  4.0K  2.0G   1% /dev/shm
tmpfs                    2.0G  1.4M  2.0G   1% /run
tmpfs                    2.0G     0  2.0G   0% /sys/fs/cgroup
/dev/sr0                 1.8G  1.8G     0 100% /run/initramfs/live
/dev/mapper/live-rw      6.4G  5.3G  1.1G  83% /
tmpfs                    2.0G  500K  2.0G   1% /tmp
vartmp                   2.0G     0  2.0G   0% /var/tmp
tmpfs                    395M  9.1M  386M   3% /run/user/1000
/dev/mapper/fedora-root   12G  5.2G  6.1G  46% /mnt/sysimage
/dev/sda1                976M  146M  764M  16% /mnt/sysimage/boot
tmpfs                    2.0G     0  2.0G   0% /mnt/sysimage/dev/shm
[liveuser@localhost-live ~]$
You can see that /mnt/sysimage has the root VG that my system installed in, and /boot beneath it, and /dev/shm. I true chroot would also include /dev, and /proc as well, but we wont need those here.
So, this is as simple os setting chroot:
[liveuser@localhost-live ~]$ sudo chroot /mnt/sysimage
We trust you have received the usual lecture from the local System
Administrator. It usually boils down to these three things:#1) Respect the privacy of others.#2) Think before you type.#3) With great power comes great responsibility.
[root@localhost-live /]# pwd
/
Add a new administrator
Has anyone ever actually received that lecture? Anyway, now we’re inside our newly installed systems disk, now we can do things like, reconfigure the system, to some extent. All we want to do is create a user, and make that user an administrator by adding them to the “wheel” group.
[root@localhost-live /]# useradd someuser
[root@localhost-live /]# passwd someuser
Changing password for user someuser.
New password:
Retype new password:
passwd: all authentication tokens updated successfully.
[root@localhost-live /]# groupmems -g wheel -a someuser
[root@localhost-live /]#
And that’s that, it adds us a user, we can verify like so:
[root@localhost-live /]# id someuser
uid=1000(someuser) gid=1000(someuser) groups=1000(someuser),10(wheel)
[root@localhost-live /]# grep someuser /etc/passwd
someuser:x:1000:1000::/home/someuser:/bin/bash
[root@localhost-live /]# grep someuser /etc/shadow
someuser:$6$NGRwFmj2GUE0X7Xh$/tJ7hCyKH0EBJ1xvUlkZZE1OT48J3ikXgDGVoTjM7qWH2gi9huZfeto4cX9X9Ma0q7y.PD5Yz9CUGCRkSXFwF.:17887:0:99999:7:::
But what bout root?
Also, root’s set to !, which is ok, since we’ve got a user now, we dont need root’s password, and likely never will.
[root@localhost-live /]# grep root /etc/shadow
root:!::0:99999:7:::
Conclusion
Ok, that’s it! if you were to reboot now, your new system would come up with one pre-populated user. This is useful if you expect that you might have video problems preventing you from starting X on your first boot. Or if you might want to add a user so it’s already there when you boot for the first time, for any other reason.
I hope this was helpful. Thanks for reading!
For the next article in this series, check out the next article in the series: Fedora 29 – Discrete NVIDIA – Boot troubles
[…] you’ll get right to a login prompt rather than the GDM graphical login. This is where that user we added during the liveusb setup comes in handy. Once I did that, I rebooted, and used the same kernel arg swapping in grub to get […]